 |
| Toby's innards - Before |
 |
| Toby's innards - after |

 Aside from the minor repair, he has had a little bit of a makeover. How about a 3D face, a chimney, a steam pipe and a bit of paint - not too much as he is a working locomotive!!!
 |
| Toby's innards - Before |
|
| Toby's innards - after |
Aside from the minor repair, he has had a little bit of a makeover. How about a 3D face, a chimney, a steam pipe and a bit of paint - not too much as he is a working locomotive!!!
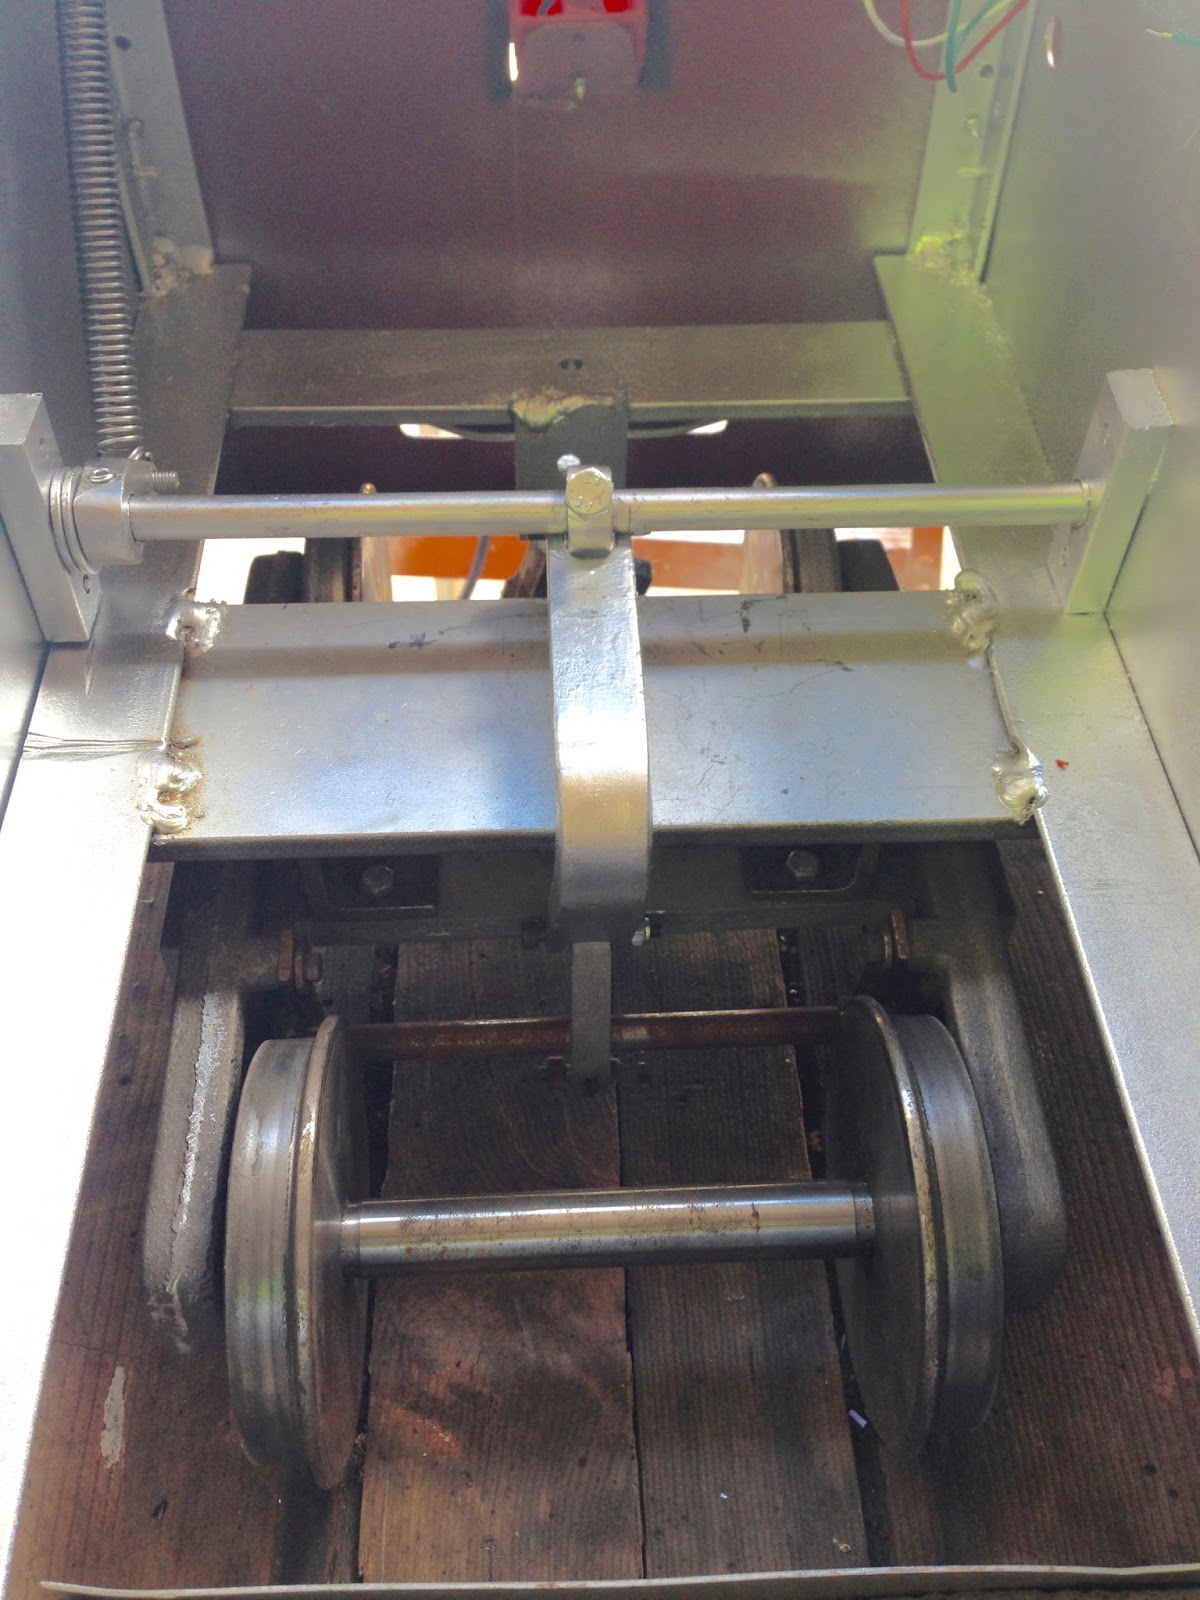 I have been working on SRR too. The ride-on carriage has been re-bogied with Warrick Sandberg mechanically braked bogies. The ride height changed etc. I finally decided what to do about connecting the brakes. Thought about cables, cams, levers... bearing in mind on the SRR track the curves are tight(ish) at 3.9metre radius and the bogies turn a fair bit.
  So ONE bogie now has FOOT brakes. I plan to build another carriage so will get a pair of unbraked bogies and use one on each carriage plus one braked version.
  The brake lever on the bogie only needs to move 5-10mm at the end so I roughly calculated the mechanical advantage, made a pedal on a shaft, a return spring and lever, a short activating lever, and linking piece out of an offcut of 20x10 rail. Grade 8 bolts connect it all.
 |
| This mess came out... |


 Both S bend kinks beside the house are finished. So the riding car with feet hanging out clears the water tank and the new slim shed.


 The main 33m oval is in one piece. All welded joins except the removable points which have welded plates at the bottom of the rail, double bolted together. No expansion joints as 2/3 of the track can move on the road bed - enough, I hope. I calculate about 1cm movement from 0 to 40C...
 Now that the turf under the track has been dug out, and the track moved back, I have been levelling, welding joins, installing the sleepers, packing the granitic sand roadbed, and using it to ballast too.
 Finished digging out the grass sod from under the main oval of track. Weed mat down.
 Trying to stay in the shade this morning, but the sun caught up to me 10 am it's 30!
 I'd sure hate to cut up the cooch grass by hand. Especially this next few days - 32 at the moment, then 34 tomorrow, 39 Thursday.


